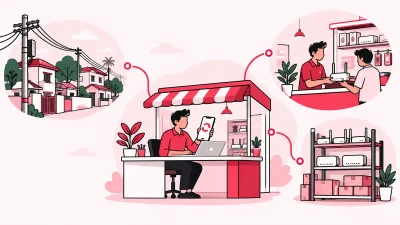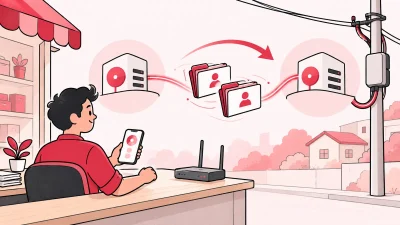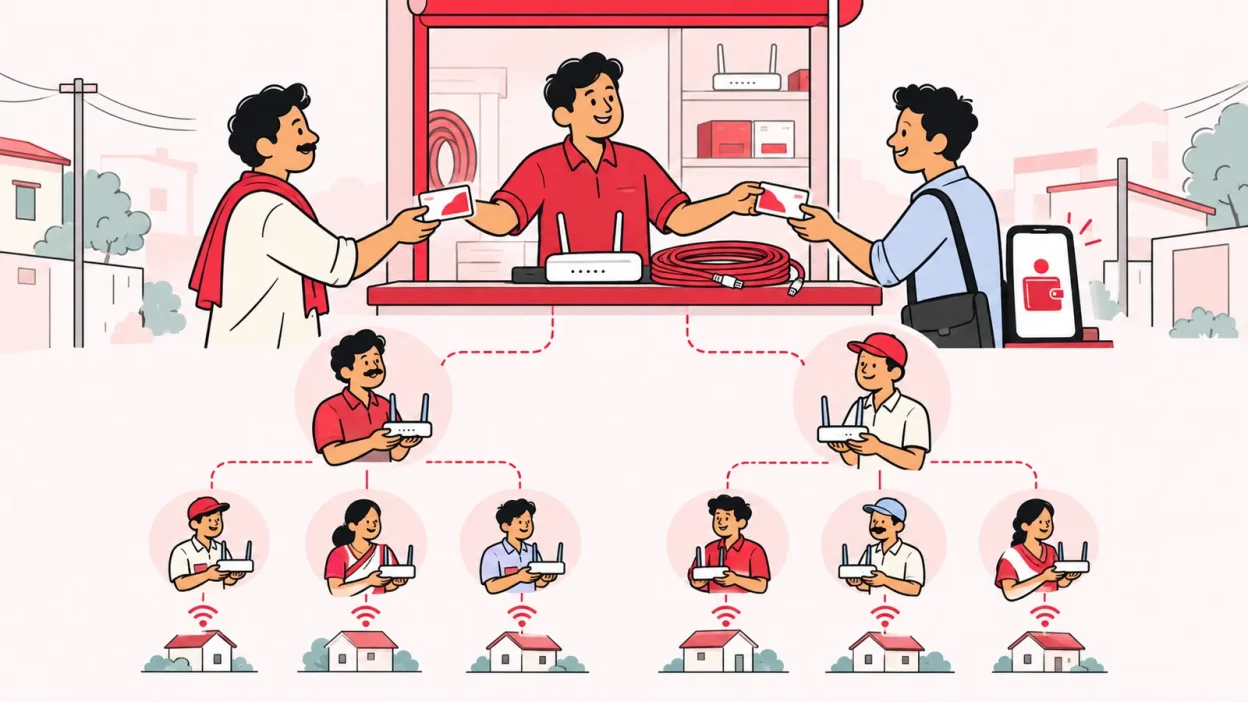
How to add sub lco partners starts with choosing the right local person and agreeing on money, customers and support before the first connection. A simple partner tree can help you expand into nearby areas without losing track of recharges, KYC documents, devices or wallet balances.
This guide uses “sub-partner” for the person working under you. You may also see “sub-LCO” in ISP and broadband conversations. The working method is the same: define the area, set the rules in writing, onboard carefully and review the numbers every week.
Why add sub-partners?
A sub-partner gives your broadband business local reach. They may already know the apartment blocks, lanes, small offices and shopkeepers in one area. They can find customers, collect questions and coordinate visits while you manage the upstream ISP relationship and the overall business.
The aim is not to add as many names as possible. The aim is to create a small, accountable network where each person knows:
- Which area they serve.
- Which broadband plans they can sell.
- What they pay before a recharge or installation.
- What they earn or retain after each customer payment.
- Who handles installation, service escalation and refunds.
- Which customer and device records they must update.
If you already resell more than one ISP, put the common process in one place. The One Broadband partner login guide explains why keeping OneBroadband and GTPL work together can be useful when your team handles both.
What you need before onboarding
Prepare these items before inviting a new sub-partner. This keeps the first meeting focused and prevents a vague “we will decide later” arrangement.
| Item | What to decide |
|---|---|
| Area | A named locality, building cluster or route, with clear overlap rules |
| Role | Sales, collection, installation coordination, customer support, or all four |
| Plan list | Which ISP plans and connection types the partner may offer |
| Money | Prepaid wallet amount, retail price, commission and refund handling |
| Records | Customer details, payment status, KYC documents and device handover |
| Support | First contact, escalation contact and expected update method |
Keep your upstream ISP’s partner terms nearby. Your sub-partner arrangement cannot override the ISP’s activation, verification or service rules. For subscriber KYC, follow the actual ISP process and ask your CA or ISP about any business or tax question. TRAI has published a reference on e-KYC for fixed-line, internet and broadband connections, but a general reference is not a replacement for current instructions from your ISP.
Step 1: Choose one area and one responsible person
Why: A small test area shows whether the partner can sell and support connections before you give them a larger territory.
Start with one neighbourhood, market lane or group of nearby buildings. Do not begin with “the whole town”. Note the existing coverage, fibre route, likely customer type and any other partner already working there.
Then interview the person who will own the daily work. Ask practical questions:
- Which streets or buildings can you visit regularly?
- Have you handled customer payments or service calls before?
- Can you keep customer and device records updated?
- How will you handle a customer whose recharge is pending?
- Who will help when you are away from the shop?
Check references where appropriate and keep a copy of the agreed contact details. Do not hand over a shared master password. Give the person their own login when your system supports it.
Success looks like: You have one named person, one defined area and one short list of responsibilities. Another staff member should be able to read the record and understand who owns that area.
Step 2: Agree on money rules before the first sale
Why: Most partner arguments begin when price, credit or commission was assumed but never written down.
Decide whether the partner works from a prepaid wallet or receives any credit. A prepaid wallet is easier to control: the partner adds money first, then uses the available balance for customer recharges. It also makes the available limit visible.
Write down these rules in plain language:
- The customer-facing retail price for each plan.
- The amount that reaches the ISP or your upstream account.
- The commission or margin for the partner.
- When commission is posted to the partner’s wallet.
- Whether the partner may change the retail price, and within what range.
- What happens when a customer asks for a cancellation or refund.
- Who approves a manual adjustment.
For example, if a plan has one upstream cost and one approved retail price, write both values in your internal rate sheet and show the partner only the figures they need. Do not rely on a verbal promise.
Avoid collecting a payment without recording it. Cash, UPI and online recharge should reach the same customer ledger. If a recharge times out, check the transaction status before trying again. A blind retry can confuse the customer and make the wallet record harder to reconcile.
Success looks like: You and the partner can answer “who gets what, and when?” without opening a WhatsApp chat or searching through old notebooks.
Step 3: Collect the partner’s details and set access
Why: A named account and a clear audit trail protect the customer relationship as the network grows.
Create the partner record with the details your business and upstream ISP require. At minimum, keep the person’s name, mobile number, service area, start date, role and payment contact. Store only the documents you have a reason and permission to keep, and protect them from casual access.
Before activation, confirm the partner’s commercial understanding and complete any agreement your ISP requires. Explain that a partner is responsible for truthful customer information, correct collection entries and timely escalation.
Set access around the work. The partner should be able to see the customers and transactions they are responsible for. They should not need your upstream ISP password, your full business ledger or every staff screen.
In ISP Square, the model is an operator, partner and sub-partner tree. Each level can have its own login, wallet and customer list. You can also use scoped staff logins and an action log, so a correction is easier to trace later.
Success looks like: The partner can sign in and do the assigned work, while sensitive settings and unrelated customer records stay with the right person.
Step 4: Onboard the first customer together
Why: One supervised connection is a fast test of the whole process.
Use the first customer to practise the complete path:
- Confirm the customer’s name, mobile number and installation address.
- Select the correct ISP and plan.
- Complete the KYC and verification steps required by that ISP.
- Record the payment and recharge status.
- Assign any router or ONU and note who received it.
- Confirm installation or handover with the customer.
- Add the next renewal date and the support contact.
Keep the customer record under your business account. If you change upstream ISP later, a well-maintained KYC and customer history should remain with your operator account instead of being trapped in a partner’s notebook. Confirm the exact retention and access rules with your ISP and your own privacy process.
Use a short checklist for every first connection. A customer should not have to repeat their details because sales, installation and recharge records live in different places.
Success looks like: The customer has a complete record, the payment is visible, the correct plan is attached and the partner knows what to do when the customer calls next month.
Step 5: Build the partner tree in ISP Square
Why: A hierarchy makes responsibility visible when one operator supports several local partners.
The useful structure is:
Operator
├── Partner A
│   ├── Sub-partner A1
│   └── Sub-partner A2
└── Partner B
    └── Sub-partner B1
Add the person at the level where they actually work. Do not place a direct partner under another partner just to make the list look tidy. Attach their area, customers, wallet and price rules to the correct account.
With ISP Square, you can connect ISP partner accounts and keep customers, plans and balances in one operator view. The platform supports OneBroadband and GTPL today; if you resell another ISP, ask which connection can be supported before promising it to a partner.
The important controls are:
- Separate login for each partner or sub-partner.
- Own retail price per plan and level.
- ISP cost hidden from partners where your commercial model needs it.
- Commission posted to the correct wallet after a recharge.
- Customer ownership visible at each level.
- Stock movement from store to partner, then to customer or written-off status.
Success looks like: You can open one operator view and answer which partner owns a customer, what their wallet balance is, which plan was sold and where a device was handed over.
Verify the setup every week
The first week is for checking behaviour, not only sales. Review the following with the partner:
- New customers added against payments received.
- Expiring connections and pending recharges.
- Wallet top-ups, commission entries and manual adjustments.
- KYC records awaiting completion.
- Routers and ONUs still with the partner.
- Customer complaints that need your escalation.
- Retail prices that do not match the agreed rate sheet.
Keep the review short and fixed, such as one weekly call or shop meeting. If a partner is managing several people, review their child accounts separately. A clear tree helps you coach the right person instead of calling every customer yourself.
For a broader system checklist, see the practical guide to ISP billing software for Indian resellers. It covers the records that matter when a spreadsheet stops being enough.
Troubleshooting common onboarding problems
The partner wants credit immediately. Start with a prepaid wallet and a small test area. Move to another arrangement only after you can reconcile payments and renewals consistently.
Two partners want the same buildings. Draw the boundary in writing. Use building names, lane names or pin-code landmarks, and record who owns existing customers.
A customer pays the partner but the recharge is not visible. Check the payment reference and transaction status first. Do not repeat the recharge until you know whether the first request succeeded.
The partner asks for your ISP password. Do not share a master credential. Use a separate login or complete the ISP action yourself, then record the result in the customer ledger.
A router or ONU goes missing. Check its last status: store, partner, installed at customer or written off. Keep the handover date and receiver’s name with the stock record.
A partner leaves. Stop their access, settle the wallet ledger, transfer active customers and recover outstanding devices. Keep the customer history and KYC records under your operator account according to your ISP and privacy obligations.
FAQ
What is a sub-LCO in broadband?
A sub-LCO is a local reseller or sub-partner working under a larger operator or channel partner. They may sell connections, collect payments and support customers in an assigned area. The exact commercial and compliance arrangement depends on the upstream ISP and your agreement.
How do I choose a broadband sub-partner?
Choose someone who can consistently cover a defined locality, explain plans clearly and keep customer and payment records updated. Start with one area and a supervised first connection before expanding their responsibility.
Should a sub-partner get a separate wallet?
Yes, a separate wallet makes prepaid funds, commission and adjustments easier to see. It also prevents one partner’s transactions from being mixed with another’s. Set the funding and refund rules before the account is used.
Can I manage sub-partners for more than one ISP?
You can use one operating process for multiple upstream ISPs, but confirm which accounts your software supports and follow each ISP’s own activation and KYC rules. ISP Square connects OneBroadband and GTPL partner accounts today and keeps the operator’s customer view in one panel.
What should I do before adding my first sub-LCO?
Define the area, role, plan list, retail price, commission, wallet rule, KYC process and support path. Write the rules down, create a separate login and complete one customer onboarding together before giving the partner more responsibility.
Plans start low—see current ISP Square pricing before choosing the right setup for your partner network.